One might think it would be a new lens or a new camera, but no it isn’t 🙂
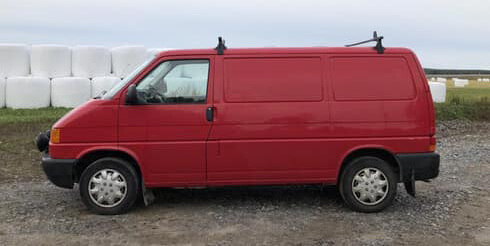
My new friend is named “little red riding hood” and she is a 2002 Volkswagen transporter T4. The idea was born on my last trip to Senja when I woke up at 3 in the morning freezing like crazy and had to tear my frost biten tent down and retreat to my car. A common sight in Lofoten are the Arctic campers, small VW Caddy’s that’s been converted to camper vans with a bed and basic cooking facilities.
I thought about it during the trip and even more when I got home, one thing I didn’t like about the Caddy’s was the size, you would most likely be crawling around in the car. The other thing was the prize tag and availability here in Sweden.
Then by chance I stumbled upon a VW Transporter in great mechanical condition on an auction nearby where I live, I placed a bid that I surely thought was low enough not to win but to my surprise I did win and was now an owner of a dirty, smelly but functional van.
Meet “Little red riding hood” or Rödluvan in Swedish.
If everything goes according to plan this will be my new home on my photo trips in the future, I’ll still bring the tent of course but most likely I’ll end up sleeping much better in a real bed and near the trailheads instead of a campsite off location.
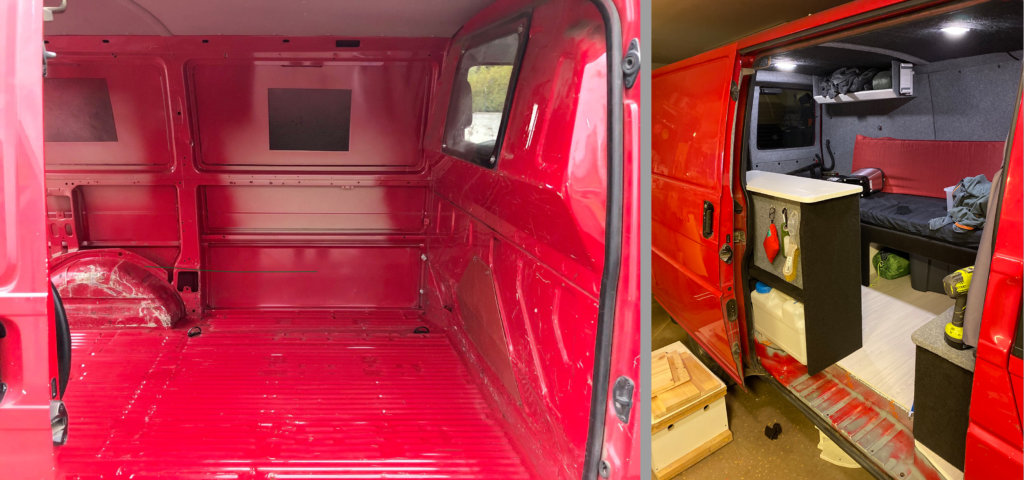
I started the build with tearing out all the interior and giving the body work a cleanup (which was really needed). I then cut out the wall separating the living area from the driver cabin. I still kept the bottom half as there are three seats in front and therefore really no point in removing the bottom half.
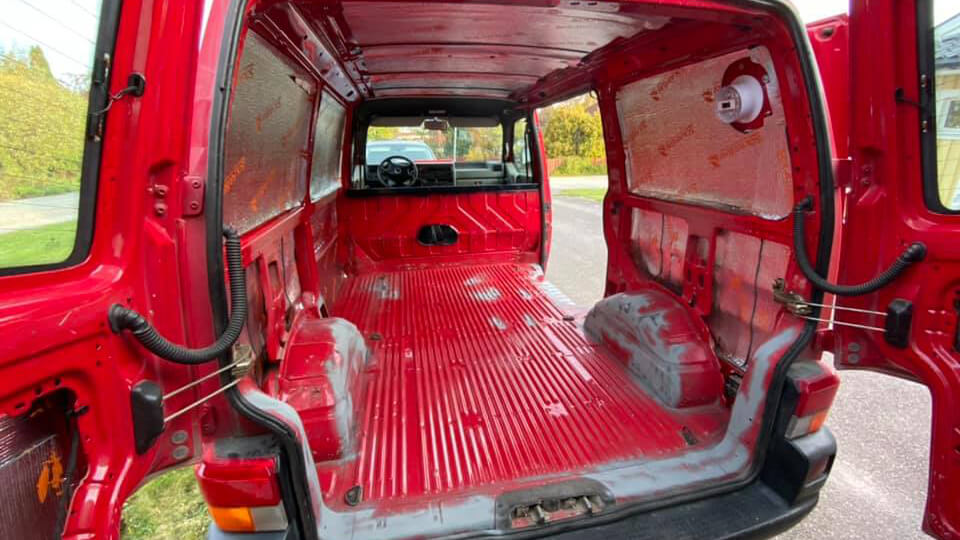
While the interior was out I did some minor touch up of the paint work. To my surprise there was absolutely no rust at all on the floor.
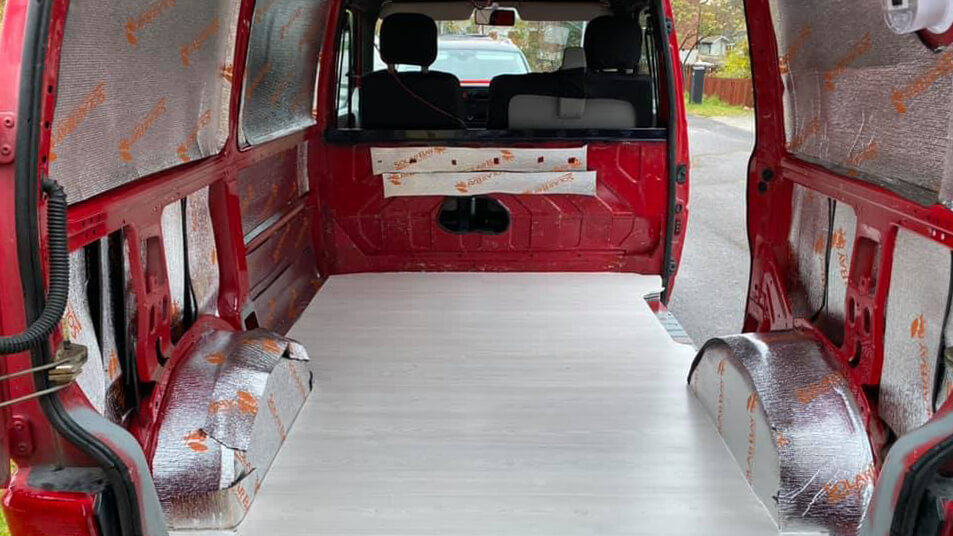
I then insulated the roof, floor and walls including the rear and side doors before making new cover sheets in plywood. The plywood was painted and covered in van lining carpet. The floor is IKEA strengthened by a sheet of 7mm plywood.
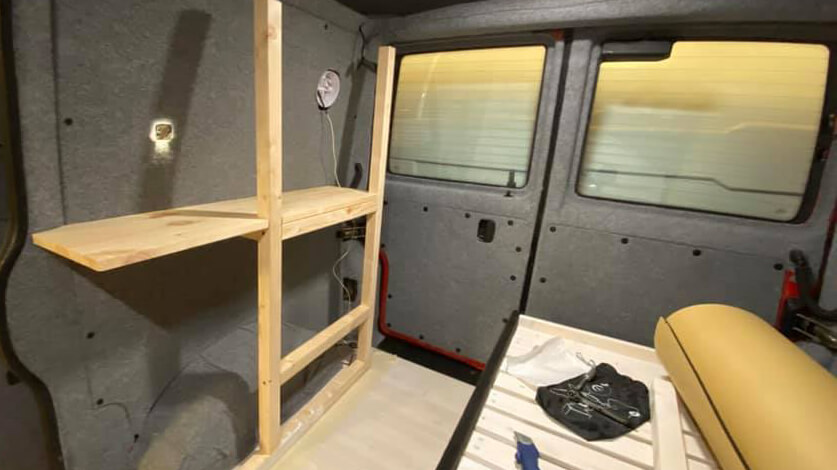
The interior was build using 10mm and 12mm plywood and 45x45mm wood and then covered in 7mm plywood that was lined with the same van lining as for the walls and roof. Everything was painted twice before covered in lining to prevent future mould.

The bed is 80cm x 195 and can be extended to 130x 195cm.
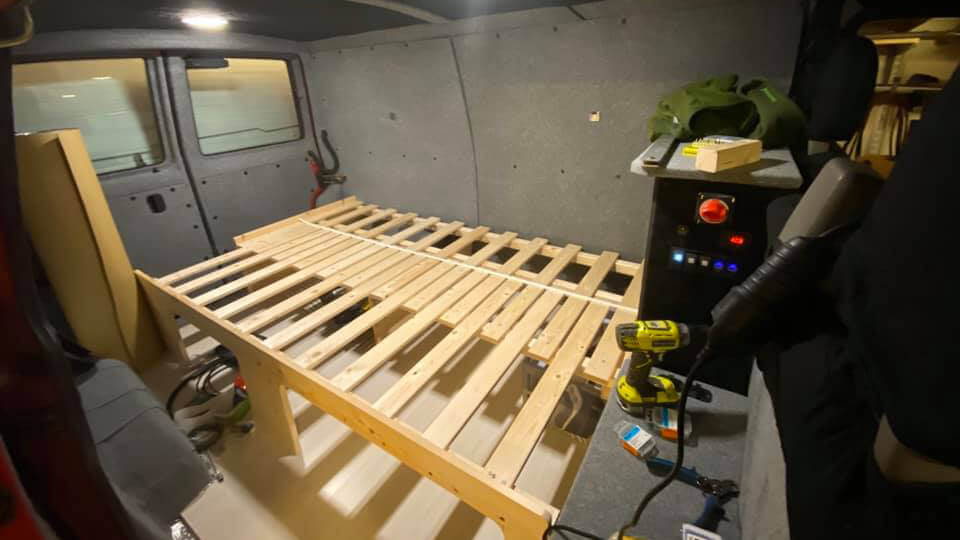
The front storage cabin contains the extra battery and all the electronics for charging and solar panels. I’ve got both interior and exterior lights and a master switch to cut all power. I’ve also installed 4xusb sockets in the back and two in the front for charging phones and cameras.
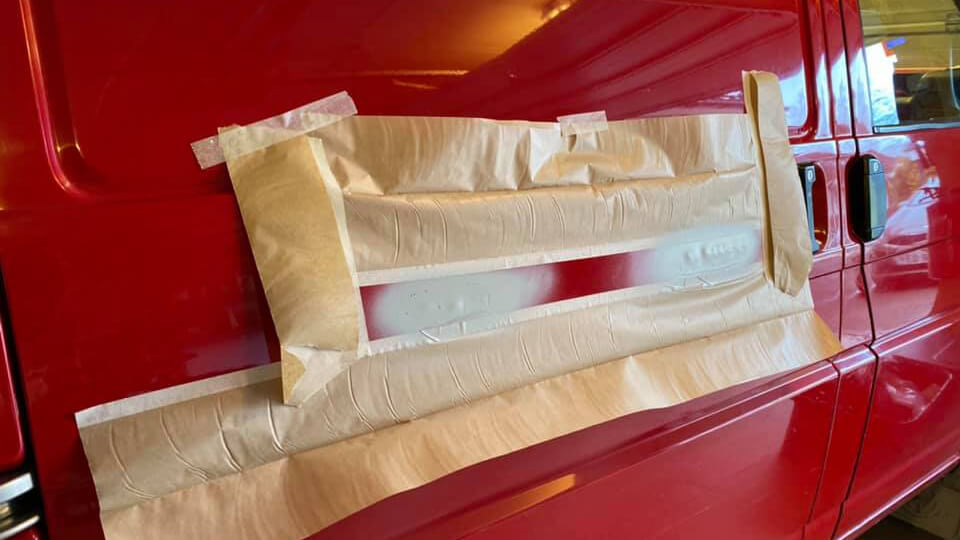
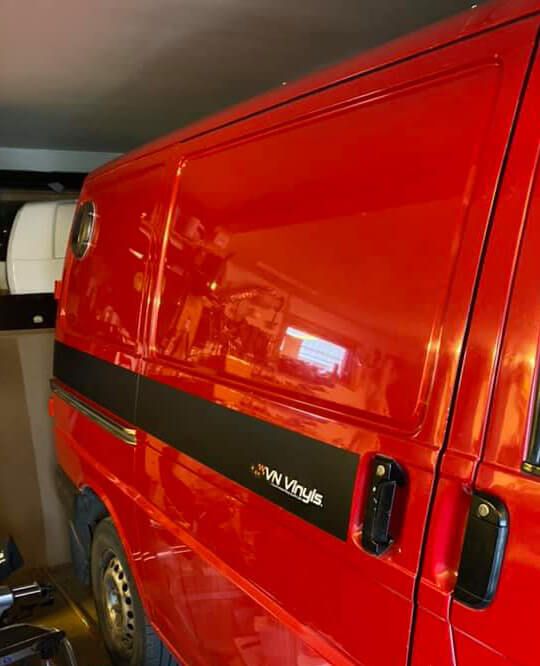
There is a surprisingly small amount of rust on the body of the car however the sliding door hade some dents in it which needed my attention. Since the priority is function rather then looks I cut some corners and covered the dents in car vinyl instead of trying to get rid of them.
All in all I think I got myself a great start for a camper van. I got a bed, power and storage which will go a long way compared to the tent I’m used to. I can’t wait to share my summer and autumn adventures with you all.
Meanwhile I’ll leave you with a couple of before and after images.